

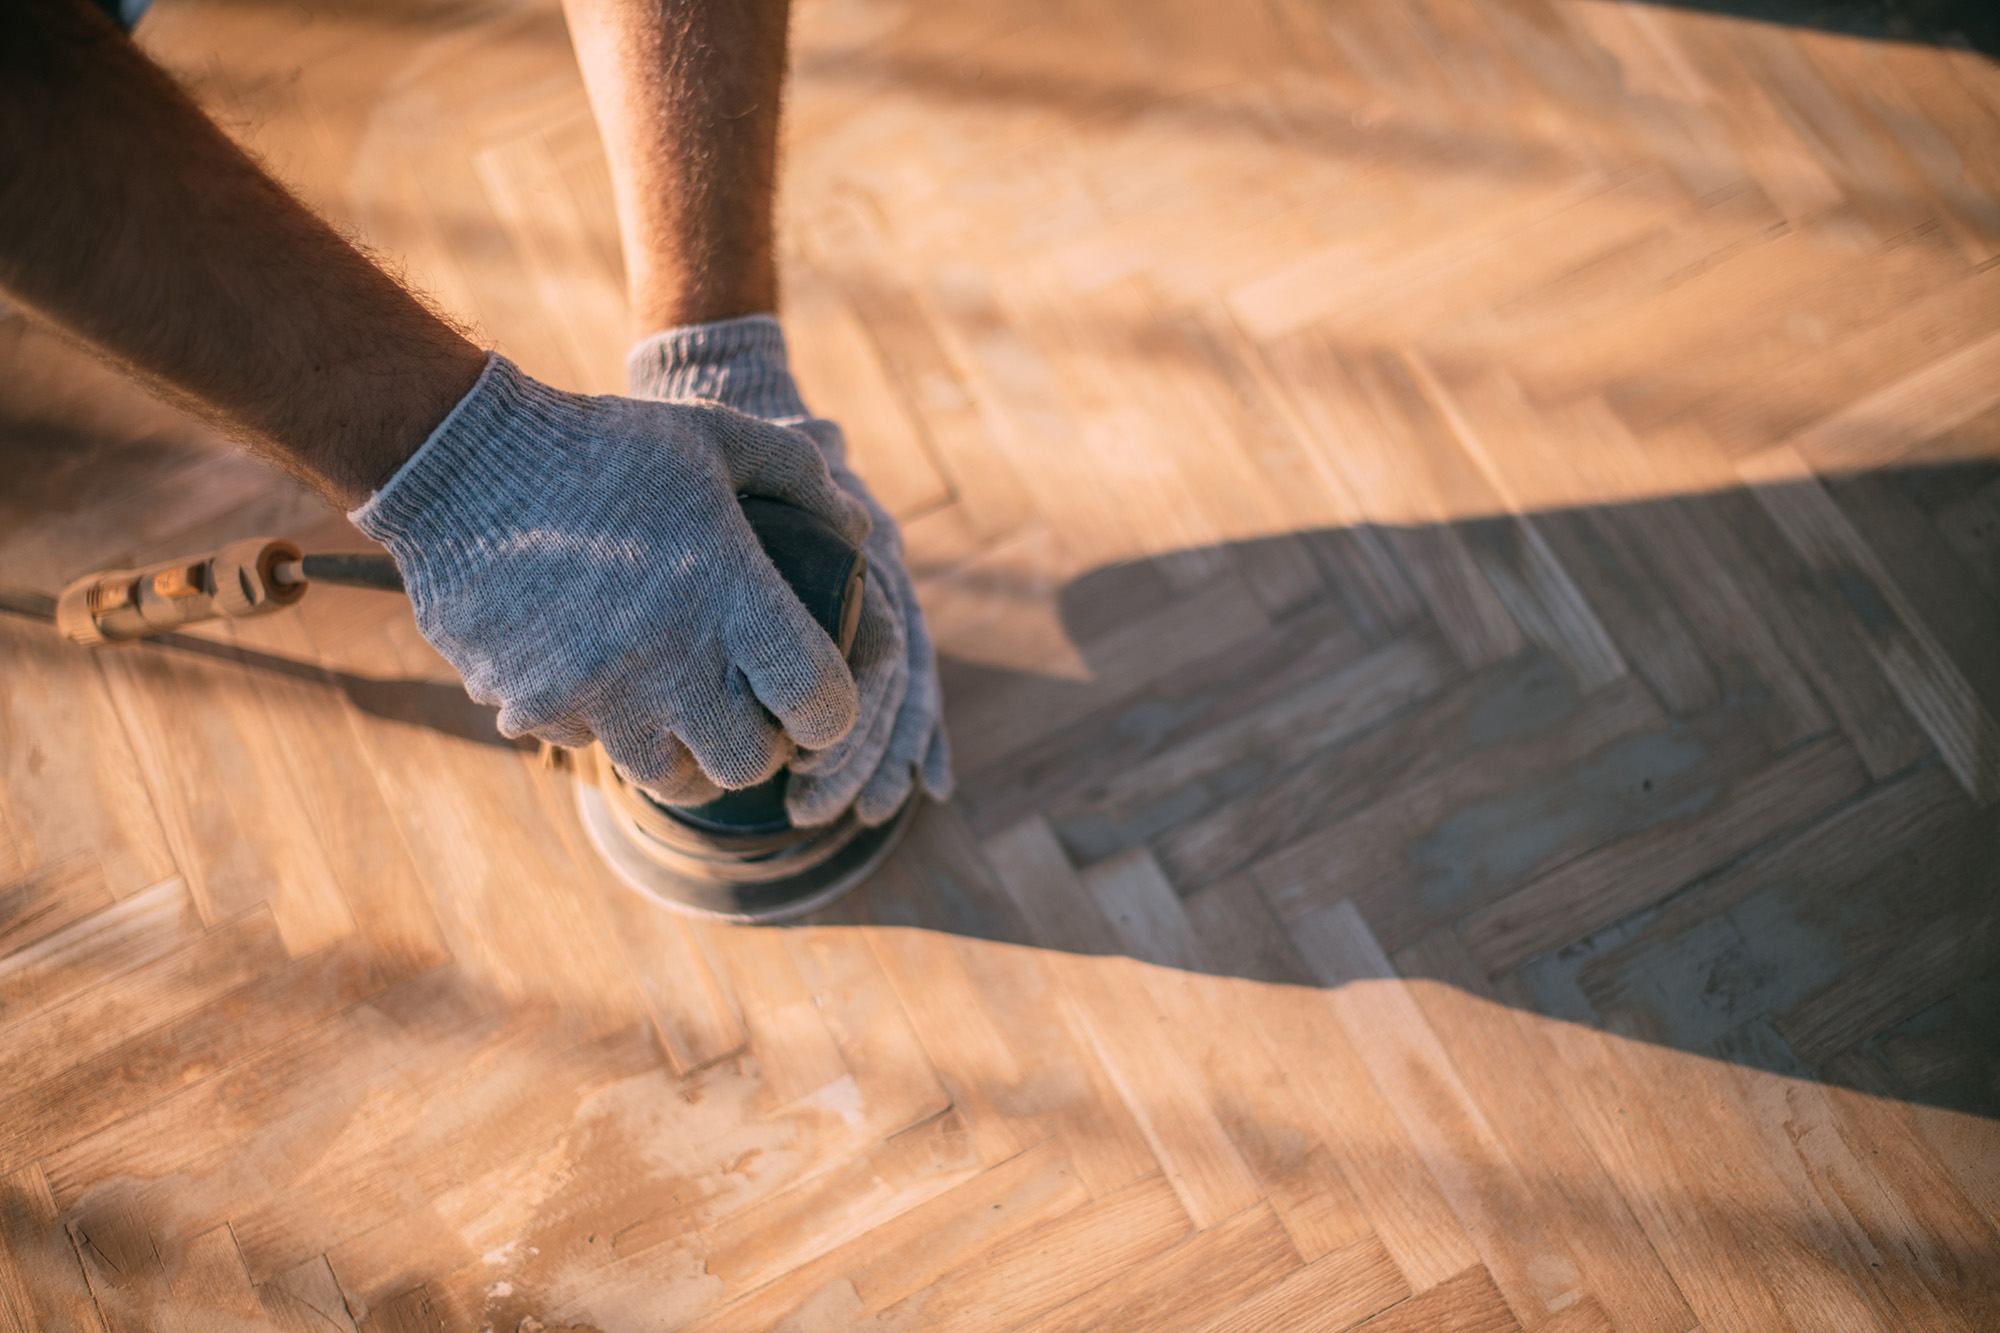
Herringbone is one of those patterns people screenshot at midnight because it instantly adds architecture to a room. The problem is, a lot of “budget herringbone” ends up reading like a quick flip: short pieces, loud bevels, uneven alignment, and a hollow sound that gives the game away.
At L.A.F Floors & Interiors, we help homeowners choose engineered herringbone configurations that stay practical for New England conditions and still look intentional. If you want to see samples, edge profiles, and finish sheens in person, visit us at Shrewsbury, MA.
Why engineered is the budget-friendly herringbone sweet spot
Solid hardwood herringbone traditionally involves small slats, jobsite sanding, and serious labor. Engineered wood can hit a more reasonable installed cost because:
Stable core construction reduces seasonal movement, which matters when patterns amplify gaps.
Prefinished options can eliminate on-site finishing time (and disruption).
Plank consistency helps your “V” pattern read crisp, not wobbly.
But engineered herringbone only looks premium if the specs support the pattern.
Engineered herringbone options that actually look high-end
There are three common ways to do it. Two are good for budgets. One is how people accidentally end up with “flip house.”
Option A: “Herringbone-ready” engineered blocks (best results, easiest planning)
These are engineered planks specifically made for herringbone: consistent lengths, square ends, and matching left/right tongues so pieces lock correctly in alternating directions.
What to look for (technical checklist):
End-matched milling designed for herringbone (not standard straight-lay only).
Low microbevel or no bevel so the pattern reads clean and doesn’t trap grime lines.
Wear layer thickness that supports your long-term plan (recoat vs refinish). As a rule: thicker wear layers give more flexibility later, but cost more upfront.
Matte to satin sheen for realism; high gloss makes bevels and seams scream.
Why it doesn’t look like a flip: The pieces are proportioned for the pattern, so it reads like architecture, not a DIY optical illusion.
Option B: Standard engineered planks cut down for herringbone (budget-friendly, but fussy)
This is where budgets often go: buy engineered planks, then install in herringbone by cutting to a repeat length. It can look great… if the installer plans properly.
The risk: Most standard planks are milled for straight installs and may not lock correctly in both directions. That can create weak joints, edge lift, or tiny alignment drift over time.
How to do it without regret:
Choose planks with minimal bevel and a more natural grain print (avoid ultra-uniform “perfect” boards).
Keep the pattern “quiet”: narrower widths and longer repeats tend to read more refined.
Insist on a laser line center layout and dry-lay checks before full spread.
Flip-house giveaway: short repeat lengths (lots of tiny “V”s) paired with heavy bevels.
Option C: Click-lock “herringbone look” panels (fast, cheapest, most likely to look cheap)
Some systems mimic herringbone with large panels or exaggerated bevels. They install quickly, but the pattern often looks printed-on rather than built-in.
When it’s acceptable: basement rec rooms, rentals, or quick refresh projects where durability and speed beat perfection.
When it fails: main living spaces with good natural light.
Installation method: where budget patterns live or die
Herringbone is less forgiving than straight-lay. You’re stacking tolerances.
1) Subfloor flatness is non-negotiable
For engineered installs, a common benchmark is no more than 3/16" deviation over 10 feet. If the floor waves, herringbone amplifies it: you get lip edges, hollow spots, and visible misalignment.
2) Glue-down vs nail-down vs float (herringbone edition)
Glue-down (often best for pattern stability): Creates full-surface support, reduces hollow sound, and keeps the geometry locked. Requires correct adhesive and slab/moisture prep.
Nail-down: Can work on wood subfloors, but pattern movement and slight subfloor bounce can create squeaks over time.
Floating: Usually the least ideal for herringbone because the pattern’s “locks” are stressed by expansion. If you must float, use a system designed for it, and keep run lengths within manufacturer spec.
3) Expansion planning matters more in patterns
A straight floor hides a tiny gap. Herringbone visually repeats it across the room. Proper perimeter expansion gaps and correct transitions prevent the “buckled chevron” disaster.
Design choices that keep it from looking like a renovation cliché
Tone: Natural white oak visuals in matte are popular, but the hot-take is this: the “high-end” version is less about color and more about grain variation and proportion.
Pick a floor with realistic variation (not three repeating boards).
Avoid “plastic perfect” textures.
Choose thin bevels. Heavy bevels + herringbone = dirt highways.
What to ask for when shopping (so you don’t overpay or under-spec)
Is this product manufactured for herringbone, or are we making it work?
What’s the recommended install method for this layout (and why)?
What’s included in the quote for subfloor prep?
What’s the finish type and what’s the realistic maintenance plan?
A budget-friendly herringbone can look genuinely custom if you treat it like a technical system: right plank geometry, right bevel, flat subfloor, and an install method that supports the pattern. If you want help choosing hardwood that fits your home, your lifestyle, and New England seasons, contact L.A.F Floors & Interiors or visit us at Shrewsbury, MA. We serve homeowners across Worcester, Shrewsbury, Westborough, Southborough, Northborough, Grafton, and Millbury, MA.

